Thursday, 12 September 2013

WEEK6

This week was to review our other students work and post a review of that on our blog below are the screenshots.

this was just a way to motivate me and the student to do better in the environment and help them in improving later on.

DRAFT SUBMISSION

As part of this week task we are required to submit a draft submission of our experiment.

The experiment brief was to create an island that is to conceal a letter and a number in this case my letter and number are 'Y4', we have to stay creative and keep our letter and number seen in ways that is pleasing to the user, the letter and number have to be 5 various scale from macro to micro, i have tried different ways and effects to show my number and letter and i did my best to conceal this as i will improve it more. below are the images from my cryengine. 


This image here is a birds eye view of my island my letter and number is the shape of my island with the 'Y' in the middle and '4' arms around it. This is my macro scale.

My second image is of fallen trees to combine the letter 'Y' and the '4' houses around it to form my number, as for the fallen trees you will see the 'Y' in different places as you walk around the island i am  trying to do this as i want to conceal it in a creative way.

The third image is of a broken down beach hut and a old water tank my letter 'Y' is concealed with the beach rocks and the '4' lamps to show my number.  


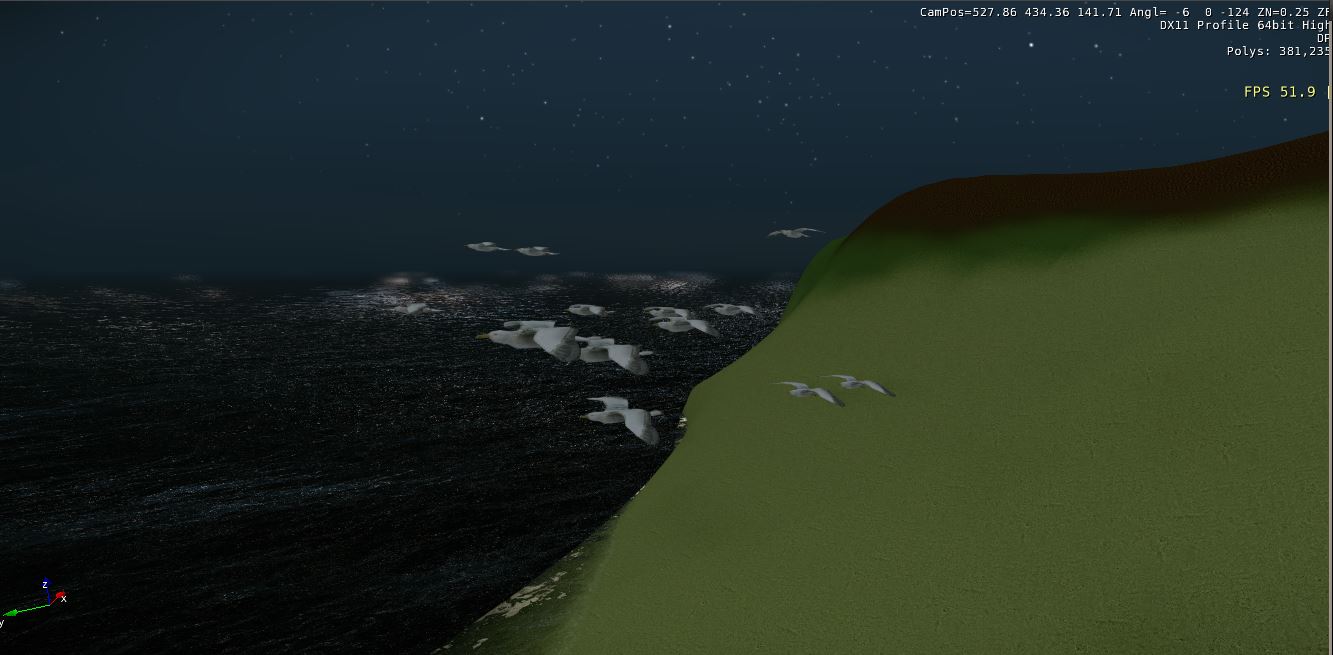
My forth images are of '4' turtles and birds for my letter 'Y'. the birds as you can see in my first image is that they are all moved around and only when you look at it from a top view and ground view looking up you will see the letter 'Y'.

My final image is my micro image of my letter and number this is shown in the terrain of my island hidden away, the 'Y' is in the middle and the '4' are the dots in the land around the letter.


The final step in the experiment is to keep adding detail to my island as i will be doing over the week and i will also be developing a trailer for my island as for my last submission. This week lecture overall was useful in planing my submission and helping me understand the stages needed to finalize my final submission. 

Wednesday, 11 September 2013

WEEK 4

the first step for this week task was to find an painting or image from one of the people we had seen in the class i have chosen joseph mallord william turner. below is the image


the next step was to create the same feel of sky in out cryengine terrain below are the brfor and after images.


before


after

screen shot of my time of day below.


This week lecture was quiet interesting as we had to find out ways to change the sky and how it could affect our island its a good way as it helped me understand the program more and give my island a different appearance. 

WEEK 3


today task was to find 4 reference images of works by one of the landscape architects giving to us in the lecture. once we had selected our images we then had to create a area throughout our island in cryengine related to those images that we found. below are the images and my images in cryengine. 


( claude lorrain )

( capability brown )

( capability brown )

( william gilpin )


the nxt part was to find a 5th reference image and show a area in our landscape related to that image we have found, i have found an image of a forest with the trees shown above, below are the images of the forest and my own environment.

 my cryengine


next part was to create a short clip of our cryengine blow is the clip


this week task has helped my understand why its important to have a good landscape, this has helped me with my progress with my cryengine and helped me using the program and a much better understanding in this assessment.


Monday, 5 August 2013

WEEK 2

For this week task we has to find 5 different images that show differences in vegetation, terrain and lighting  
for each of the landscape. below are the 5 different terrain.


I then chose the last landscape i referenced to create my island in cryengine, witch then i began to add an environment with trees. rocks, sand and grass the islan will require much more details but this will happen over the experiment. below are the images.
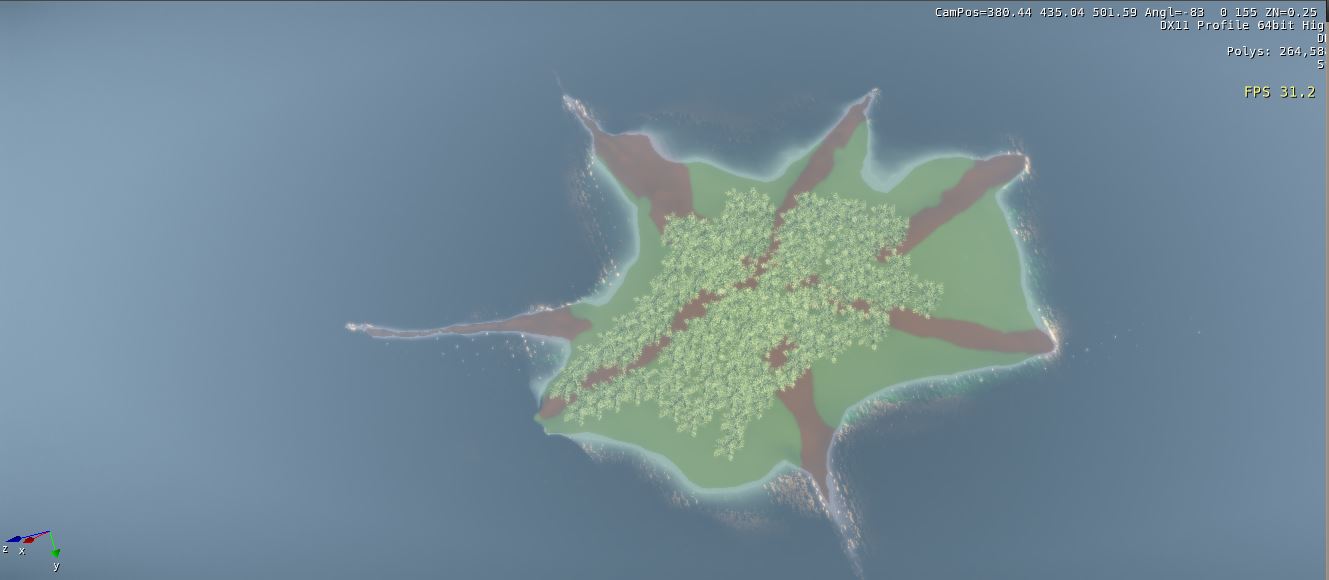


the next step in this week task was to create another island using geocontrol 2 and importing the terrain into cryengine. below is the island from my geocontrol into cry engine.


the next step i done in my independent study was we had to create a custom texture using Photoshop i created a grass texture and below u can see the result.

Sunday, 4 August 2013

WEEK 1

THE 10 TIPS AND TRICKS

1. Show and Hide helpers is bound to Shift + Space by default.

2. Ctrl+Shift+Clicking somewhere with an object selected quickly moves the object to that position when in move mode.

3. Pressing M will open the material editor.

4. Pressing H will hide the selected objects, Ctrl + H will unhide all hidden objects.

5. Pressing Ctrl + C with an object selected will clone that object.

6. Press Ctrl + G or F12 to go into the Game mode, ESC to return to Editing mode.

7. Select multiple objects by holding Ctrl.

8. You can place multiple instances of vegetation by holding Shift and clicking on the terrain.

9. Hold Alt + Middle Mouse button to rotate around an object.

10. Quickly rebuild a level (without regenerating the ground texture) by pressing Ctrl + E.


5 WAYS YOU MIGHT CUSTOMIZE YOUR SANDBOX EDITOR SETUP

1. Using Flatten, Rise/Lower, Smooth and Pick Height Terrain tools

2. Once is accessed through Terrain Editor options. Terrain --> Edit Terrain.


3. Choose Rise/Lower and set Outside/Inside Radius. Set the Hardness, which controls the strength of the brush to paint with.


4. Smooth Tool will smooth the terrain. Define the Hardness, the strength of the Smooth brush. Left Click to smooth the terrain.


5. You can also access the Pick Height tool while using the Flatten Tool. To sample the height value while in Flatten Tool, hold down Ctrl + Left Mouse Click anywhere on your terrain. This will give you the height value of the terrain where you clicked.


3 DIFFERENT WAYS MOVING AROUND YOUR LEVEL


1. you can use the controls on the keyboard W, S, A and D


2. you can navigate around your level in person on foot by going into the game by pressing Ctrl + G


3. you can use the camera tag positions by assigning the camera to a key on your keyboard.


5 SHORTCUTS OR BUTTONS

1. Ctrl + G puts you into the game as the person

2. pressing F while in game jumps into cars boats planes and opens doors.

3. Ctrl + C clowns objects.

4. Ctrl + space hides and unhide the information of an objects.

5. Ctrl + M brings up the martial editor 


50 WORDS REFLECTION 

this weeks lecture has helped me have a greater understanding within the program and know hat is expected from me for each project. I will need to be better in the program and use its to the best of my ability to create the projects that is expected from my self as i will need to experiment and express my self with the program and not to be afraid to try new and creative ideas.